Physical Address
304 North Cardinal St.
Dorchester Center, MA 02124
Physical Address
304 North Cardinal St.
Dorchester Center, MA 02124
Are you ready to use the sun’s power and make your RV a green energy haven? Imagine driving with all the comforts of home, thanks to a clean, quiet, and easy-to-maintain solar system. In this detailed guide, I’ll show you how to set up a solar system in your RV. We’ll cover everything from picking the right parts to wiring it all up.
Whether you’re an RV pro or new to solar energy, this guide has what you need. It will help you make your off-grid travels more eco-friendly and self-sufficient.

Before you can start installing a solar system in your RV, you need to figure out your daily energy needs. This step is key to picking the right parts and setting up an efficient solar system that meets your power needs.
Start by making a list of the devices and appliances you’ll use in your RV. Note their wattage needs. For example, lights use less than 100 watts, fans about 200 watts, and refrigerators around 700 watts.
Add up the wattage of all your devices to estimate your daily power use. Don’t forget to include any future additions or upgrades you might make to your RV.
After figuring out your daily power needs, think about the solar panel output and battery capacity. Solar panel output changes based on location, season, and weather. For example, the Southeast USA gets between 3.0 hours of peak sun in winter and 6.3 hours in summer.
To make sure your solar system meets your needs, remember to add a 20% loss factor for system inefficiencies. For instance, with a 100Ah, 12V Lithium battery in the Southeast USA during spring/summer, you’ll need about 263 watts of solar panel power. This is rounded up to 300 watts for safety.
If your power needs are more than what solar panels can provide, consider other charging sources like an alternator, generator, or shore power. You can also start small and add more later as your needs grow.
Choosing the right parts is key for a good RV solar setup. You need the right battery bank, solar panels, and charge controller. Each part is important for using the sun’s power and running your RV’s systems.

For the battery bank, pick batteries made for solar use, like lithium-ion. These handle the ups and downs of solar power well. They keep your system running smoothly and last longer.

The solar panels you pick depend on size, power, and how they mount. RV panels usually range from 100 to 200 watts. This gives you a good mix of power and size.
Portable panels are great for basic needs like lights and charging devices. But, if you need to power big things like fridges and ACs, roof-mounted systems are better.
You also need a charge controller to manage power flow from panels to batteries. This keeps your batteries safe and charged right. An inverter might be needed too. It changes the 12V DC from panels to 120V AC for your RV’s systems.
By picking the right parts for your RV solar system, you get a reliable and efficient power source. This lets you enjoy sustainable energy on the go.

| Component | Importance | Key Considerations |
|---|---|---|
| RV Solar Batteries | Stores the energy generated by the solar panels | Choose batteries designed for solar applications, such as lithium-ion, for optimal performance and longevity |
| RV Solar Panels | Converts sunlight into electrical energy | Consider factors like size, wattage, and mounting options to meet your power needs |
| RV Solar Charge Controller | Regulates the flow of power from the solar panels to the batteries | Ensures the batteries are charged safely and efficiently |
| RV Solar Inverter | Converts the 12V DC power to 120V AC for use in your RV’s electrical system | Select an inverter size based on your total power requirements |
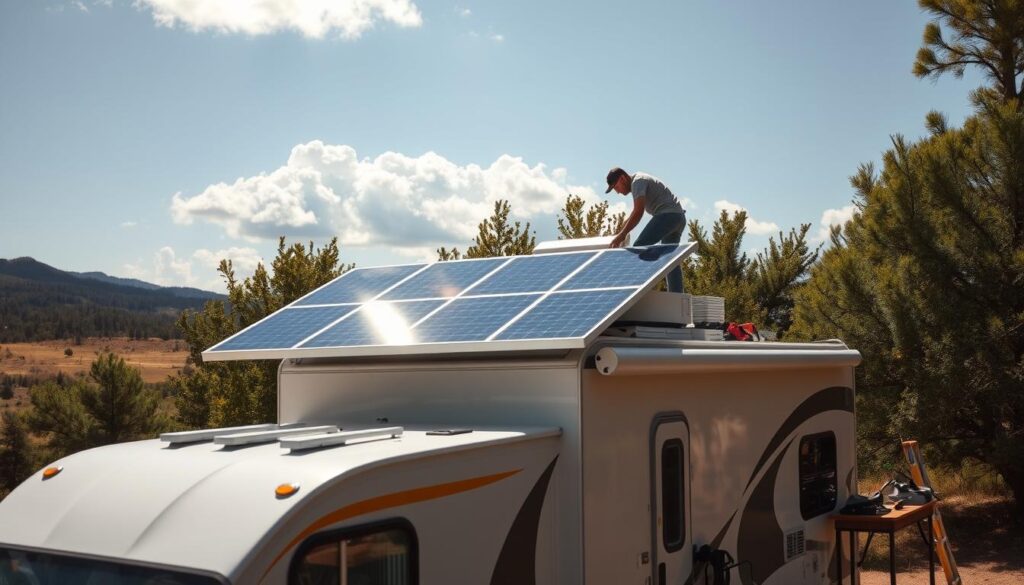
Mounting your rv solar panels right is key to getting the most out of them. You’ll need to think about the differences between rigid rv solar panels and flexible rv solar panels.
Rigid solar panels need to be attached to the RV roof with brackets that drill into the roof. This makes the installation strong and lasting, but it does change the RV a bit. Flexible rv solar panels, however, stick right to the roof. This is a better choice if you don’t want to mess with your RV too much.
When picking a mounting option, think about how easy it is to install, how flexible it is, and the cost. This will help you find the perfect solution for your RV and mounting rv solar panels needs.

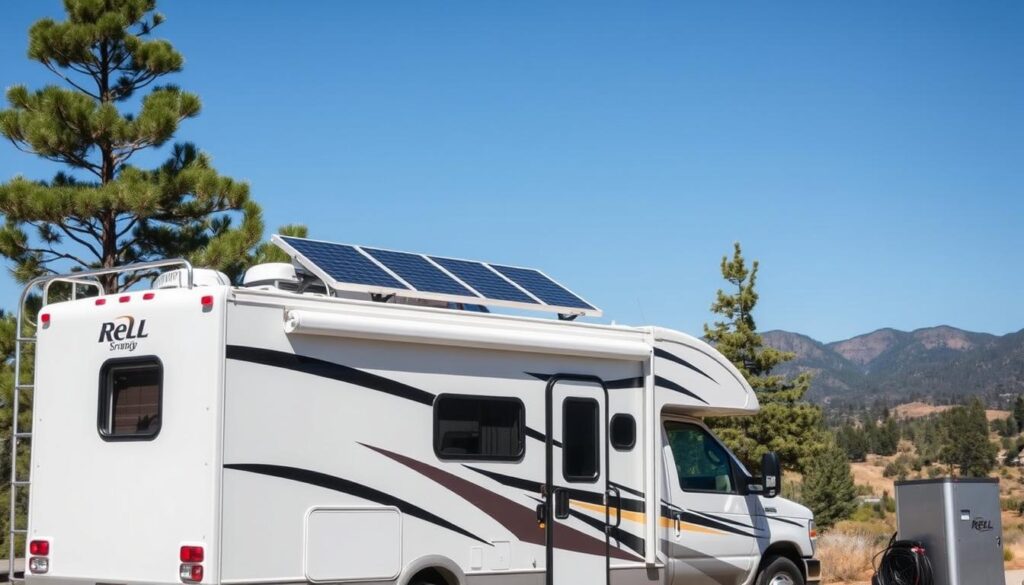
RV solar systems have changed how we enjoy the outdoors. They use the sun’s energy to charge your RV’s batteries. This makes a reliable, green power source for your trips.
With an RV solar system, you can camp off the grid without generators or shore power. No more noise or pollution from old power sources. Solar power brings quiet, self-sufficient joy to your travels.
RV solar systems come in many types to fit different needs and budgets. You can choose from flexible, portable panels to rigid, efficient ones. Panels range from 50W to 200W, with 12V and 24V options to match your RV’s power needs.
RV solar systems do more than just power your RV. They help you reduce your carbon footprint. You can explore further into nature, finding new places without the usual power limits.
Getting an RV solar system is smart and shows you care about the planet and adventure. As you travel, the sun guides you, powering your way and inspiring your spirit. RV solar systems give you freedom and open up a world of off-grid adventures.
Proper wiring of your RV solar system is key for top performance and safety. Let’s explore the essential steps to get your system running smoothly.
The first step is to connect your charge controller to the battery bank. This device controls the electricity flow from solar panels to batteries. It prevents overcharging and helps your batteries last longer. Make sure to follow the manufacturer’s instructions for the right connections.
Then, route the wires from the solar panels to the charge controller and battery bank. Look for entry points like the fridge vent to run wires through the RV. Use wire clips or cable raceways to keep the wiring tidy and secure.
When using multiple solar panels, you can wire them in series or parallel. Series wiring increases voltage, while parallel wiring boosts amperage. Choose based on your charge controller’s capabilities and power needs. Check the manufacturer’s advice for the best setup for your RV solar system.
By following these steps, you ensure your rv solar system wiring is correctly connected. This prepares your system to provide reliable, efficient power for your travels.
“Proper wiring is the foundation of a robust and safe RV solar system. Take the time to get it right, and you’ll reap the benefits for years to come.”
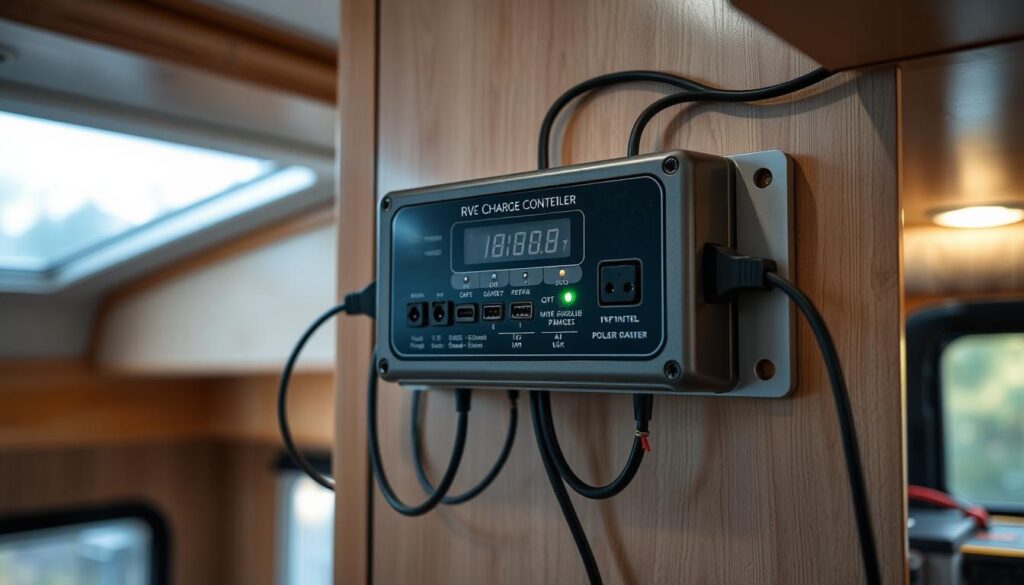
The charge controller is key to your RV solar system. It controls the power flow from panels to batteries. When installing the rv solar charge controller, pick a spot that’s easy to reach but safe from weather.
Start by finding a good spot for the rv solar charge controller. It should be in a cool, dry place, away from sunlight and heat. Mount it near the batteries for easier wiring and checking.
Follow the maker’s guide to connect the rv solar charge controller to the batteries. Make sure it’s installed safely and correctly. Use the right wire size and length to avoid power loss.
Don’t wire solar panels straight to the RV battery. It can cause overheating and even explosions. The charge controller stops overcharging and undercharging, keeping the batteries safe.
Make sure the charge controller fits your battery and solar panel types. Proper setup and connection are vital for your RV solar system’s safety and performance.
If you want to power your RV’s 120V AC appliances with solar power, you’ll need an rv solar inverter. This device changes the 12V DC power from your solar panels and batteries into 120V AC power. It’s important to pick the right rv solar inverter to meet your power needs.
When choosing an rv solar inverter, think about a few things:
Some great rv solar inverter choices include the Renogy line. They offer models from 700W to 3500W for different power needs.
When installing an rv solar inverter, pick a cool, well-ventilated spot. Wire it straight to your RV’s battery bank. Use the right wire size and fuse protection as the maker suggests. Good wiring and system integration are key for your rv solar inverter to work well.
After setting up your RV solar system, it’s important to test it thoroughly. This ensures it works well and gives you the most power. It also helps it last longer.
First, check the charge controller to see if the solar panels are working right. Look over all connections and wiring for any problems. Watching the system for a few days can also help you see how it’s doing.
For better testing, get tools like a Fluke 117 Electrician’s Multimeter to check the solar modules’ voltage. The SMFT-1000 solar multifunction tool with the IRR2-BT irradiance and temperature sensor can give you detailed performance info.
Regular checks and upkeep are crucial for your RV solar system. Use an infrared thermometer to keep an eye on important parts’ temperatures. Also, look for any damage or wear and fix issues quickly to keep your system running well.
By testing and monitoring your RV solar system well, you can use the sun’s energy to power your travels. This way, you can enjoy your adventures with confidence and without worry.
| Component | Recommended Tool | Purpose |
|---|---|---|
| Solar Modules | Fluke 117 Multimeter, SMFT-1000 Solar Multifunction Tool | Measure voltage output, generate I-V curve tracer for performance analysis |
| Wiring and Connections | Fluke 376 FC Clamp Meter | Measure current and identify wiring issues |
| System Components | Infrared Thermometer | Monitor temperature to prevent overheating |
Remember, regular checks and monitoring are key to making your RV solar system work its best. With the right tools and care, your solar setup will give you reliable, green energy for your travels.
“Proper testing and monitoring are the keys to getting the most out of your RV solar system. With the right tools and diligence, you can keep your setup running at its best for years to come.”
Using solar power for your RV can change your life. This guide shows you how to set up a solar system that meets your needs. It lets you travel freely without noisy, gas-hungry generators.
Solar tech in your RV has many benefits. Lithium batteries are light and last long. With top brands like Renogy, you can charge your batteries under the sun, even on cloudy days. This cuts down on pollution and saves money over time.
Starting an rv solar system installation takes some work at first. But the benefits of off-grid rv living and rv solar power are huge. Now, with simple solar kits, you can easily become self-sufficient. Let the sun light your way on the road, bringing you independence and sustainability.
To figure out your energy needs, list the devices and appliances you’ll use and their wattage. Think about how much power your solar panels can make and how big your battery bank is. This ensures you have enough power for your needs.
For an RV solar system, you need a battery bank, like lithium-ion batteries, solar panels, and a charge controller. The charge controller manages power from panels to batteries. You might also need an inverter to change 12V DC to 120V AC for your RV’s system.
Mounting solar panels on your RV’s roof is key for their efficiency. Rigid panels need brackets that require drilling, while flexible panels stick to the roof. Choose the right type and mounting option, like z-brackets or tiltable frames, for your RV.
Wiring your RV solar system right is important for performance and safety. Start by linking the charge controller to your battery bank. Then, run wires from the panels through your RV, like through the fridge vent. You can wire panels in series for voltage or parallel for amperage, based on your system’s needs.
The charge controller is key for your RV solar system, managing power flow. Choose a spot for it that’s easy to reach but protected from the weather. Follow the manufacturer’s guide to connect it to your battery bank safely and securely.
If you want to run 120V AC appliances with solar power, you need an inverter. Pick one that fits your power needs and battery size. Mount it in a cool, well-ventilated spot. Wire it to your battery bank as the manufacturer suggests, using the right wire size and fuses.